How to Use Menus
Menus appear at various places on a Townsquare website. There are typically one to two menus in the header, there could be a menu for a sidebar on an interior pages, and one or more menus may display in the footer.
To view the menus available on your particular website go to Content > Menus to display a list of current menus:
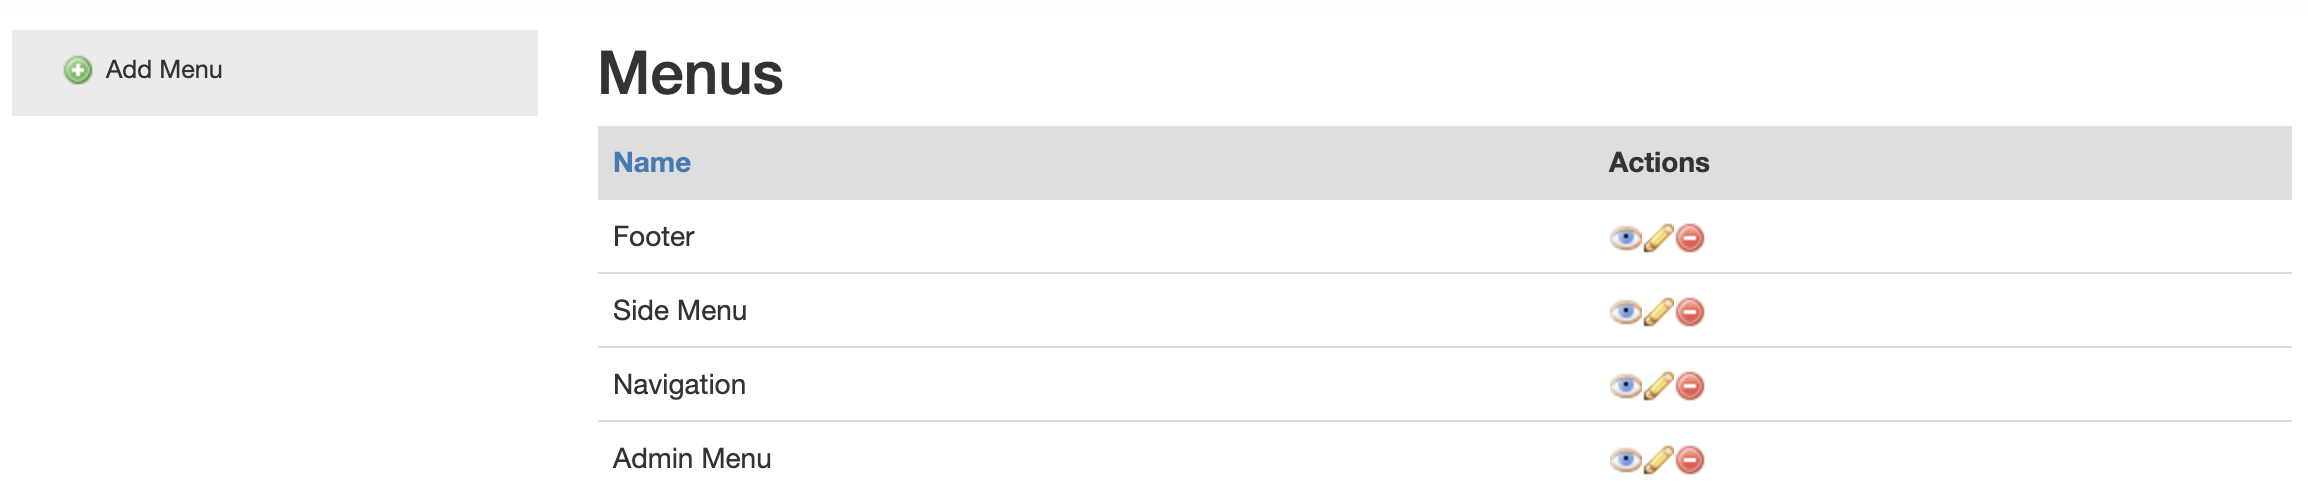
From this page you can do the following:
- Create new menus
- View the items in an existing menu
- Edit the title of a menu
- Delete a menu
Create new menus: The left sidebar administration menu contains one link to 'Add Menu'. This link will allow site administrators to create new menus, but please note that though a new menu can be created, only website developers can place new menus into a layout. If you'd like assistance with adding a new menu on to your website please content Townsquare web support at websupport@migcom.com.
View items in an existing menu: To view the links in an existing menu click the eyeball icon (![]() ) in the actions column. Clicking this link will take you to a listing page of the links within a menu:
) in the actions column. Clicking this link will take you to a listing page of the links within a menu:

The image above is displaying the links within the 'Navigation' menu.
On this page you can do the following:
Add Menu Item: creates a new menu item within the current menu. For more information, see 'Adding/Editing Menu Items' below.
Edit Menu: Edit the name of the menu, and CSS class and ID (typically not needed for site administrators)
Delete Menu: Delete the current menu
List Menus: View the current menus on the site
Edit menu item (![]() ): Allows site administrators to edit the current menu item
): Allows site administrators to edit the current menu item
Delete menu item (![]() ): Deletes a menu item from a menu
): Deletes a menu item from a menu
Show/Hide menu item (![]() ): Will turn menu items on or off. Good to use when you may need a placeholder link, but aren't quite ready to publish
): Will turn menu items on or off. Good to use when you may need a placeholder link, but aren't quite ready to publish
Edit order of menu items: To reorder menu items, click and drag on the menu item to move it up or down within the menu structure. Please note that this vertical reordering on this screen may translate to left/right ordering of menu items in horizontal menus. You can also indent a menu item to set it as a submenu link under a parent link (see 'Submenu to LIbrary' link above).
Adding/Editing Menu Items
To add a new menu item, click the 'Add Menu Item' link from the menu list page. Once this link is clicked, the add menu item page will display, where you will be asked for the following information:
Label: The title of the menu item
URL: the address where the menu item should link. If you're creating a new menu item and you know the address, enter it here with a forward slash to being. For example, to link to http://www.yourwebsite.com/about-us, simply enter /about-us in this field. This is called a relative link, as the http://www.yourwebsite.com is not needed. If you don't know the address you'll be linking, you can add a # sign as a placeholder.
HTML class attribute: this field will add a CSS class to your menu item. In some cases, you will need to add the 'last' class in this field if your main menu is displayed horizontally and has a right border to the menu item, like this:

In this case, the 'Documents' link would have the 'last' class in the HTML class attribute field.
Choose Menu: dropdown listing of menus on the website that the menu item should be associated.
Choose Parent: should you want to add a dropdown menu item, the choose parent field displays a list of all menu items that may be chosen as a parent.
Menu Item Flags: for websites that have multi-tiered access, these checkboxes allow site administrators the option of having menu items display for specific website users. Typically, should you want the menu items to display for everyone, keep all 3 checkboxes checked:
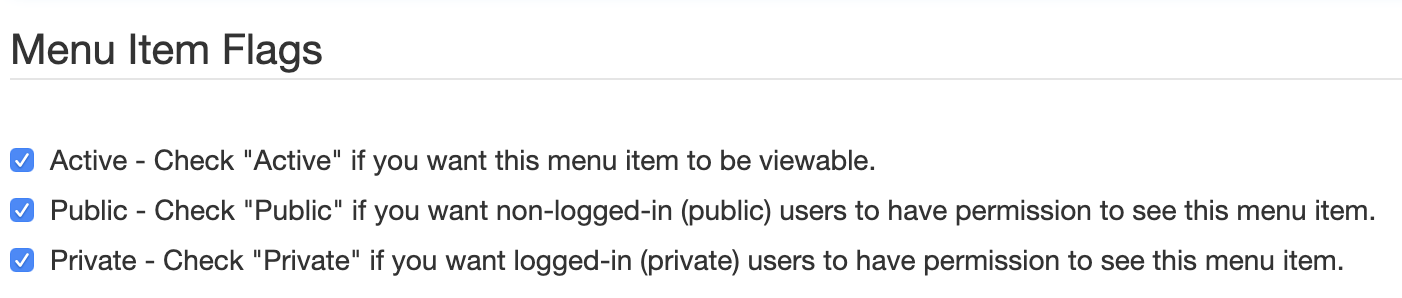
Should you want the menu item to only display for administrators, uncheck the 'Public' checkbox. Should you not want the menu item to display, uncheck the 'Active' checkbox.