Editing the Homepage Slideshow
There are two main parts to edting the homepage slideshow:
- editing the image of the slideshow, and
- editing the text that displays above the image.
To edit the slideshow, click 'Content > Slideshow' and you will be taken to the edit page:
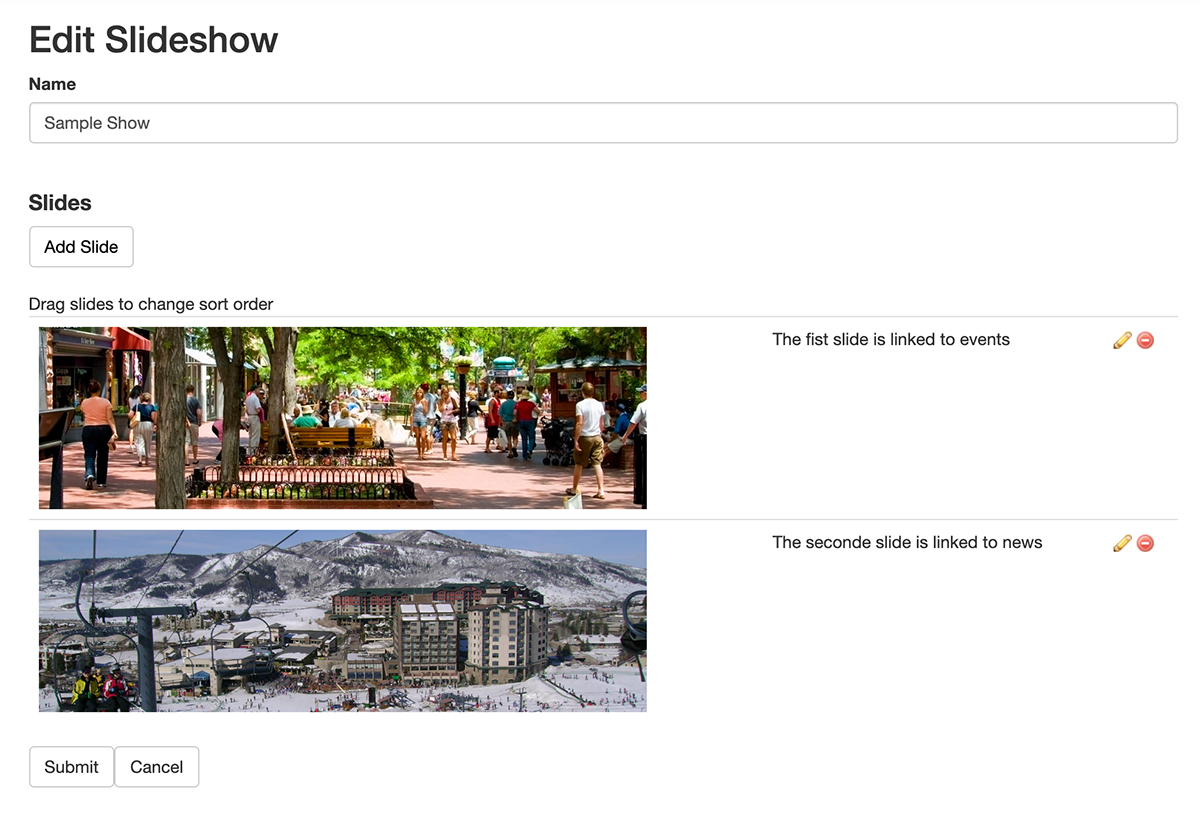 On this page you can do the following:
- Change the order of the slides by clicking and dragging the slides up or down
- Edit individual slides by clicking the pencil icon
- Delete slides by clicking the red delete icon
Editing individual slides
To edit the individual slide, click the pencil icon. You will be taken to a screen where you can edit the following:
- Name
- Alt
- Title
- URL
- Blurb
- Image
Name: This will edit the name of the slide. This doesn't display on the site and is for admin purposes.
Alt: This is the alternative text for the image. Please add a short description in this field as it helps those who use assistave technologies to use the site.
Title: This is an optional field which is the title of the image. This displays when a user hovers over the image and keeps their mouse pointed on the image.
URL: If you would like the slide to link to another page on the website, or an external page, add the URL in this field.
Blurb: The text that displays over the image. This is typically pre-styled, so you simply need to add paragraph text here, with no heading styles
Image: The image of the individual slide. To account for larger screens, images that have a minimum width of 1500 pixels are preferable. If you don't have a photo-editing program, such as Photoshop, there are many online photo editing tools available that will perform basic photo editing tasks such as adjusting image width and height, and cropping. One such tools such is Pixlr and is available to use for free.