How to Use the Events Calendar
The events calendar is a feature that will allow you to add, edit, and archive events on your Townsquare website. The main landing page for the events calendar is located at http://www.yourwebsite.com/events/upcoming. This page displays upcoming and archived events (when the archive view button is clicked), and also will allow you to toggle through different event calendars, if used.
As a site administrator you have two options on this page:
- Add event
- Manage calendars
if you click the add event link, you will be taken to the add event page, where you can do the following:
- Add event name
- Add URL slug
- Pick a calendar
- Add event beginning and end dates (or choose the all day checkbox)
- Choose start/end times (if you don't choose the all day checkbox)
- Select the 'featured' checkbox
- Upload event image
- Add event description
- Add event location
- Add related items
- Send updates to subscribers
Add event name: This is the title of the event. If this event is used as a Clickboard item this is the title that will display on the email that is sent out to website subscribers.
Add URL slug: Add custom URL for calendar item. In this field you only add the custom URL, separated by hyphens. For example, if you would like http://www.yourwebsite.com/meeting-this-thursday, enter meeting-this-thursday in the URL slug field.
Pick a calendar: if you are creating multiple calendars to use on your website, all the calendar options will display in this dropdown.
Add event beginning and end dates: Enter the event start and end times. If you click on the field you will see a dropdown where you can click the up/down arrows to navigate to the desired time (see screenshot to right). If you click the number field here you will see the numbers listed so you can click to the desired number instead of using the arrows. Should your event not have a start/stop time but instead take place for an entire day, check the 'All day' checkbox below the event date field.
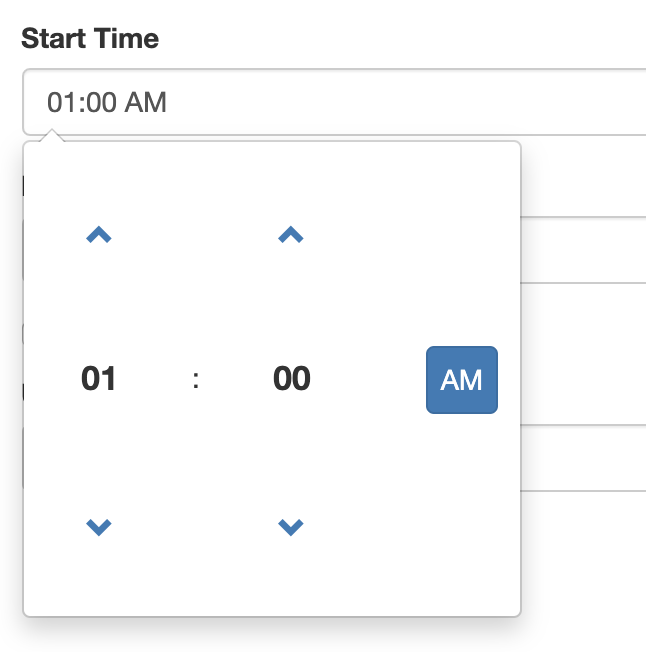 Editing event beginning and end dates
Multi-day events: should your event span multiple days, create a new event and add a start date for the event date field, and then add an end date for the end date field. You have the option of choosing if the event is all day, or will occur at specific times. When the event is created the system will add an event on each day the event occurs. Should you need to fine tune the details for each day of the event (start/end times, add different attachment materials, etc.) you can do so after the multi-day event has been created by clicking the 'Edit Multiday Event' link in the left admin sidebar. Once you are editing the event, you will have the option to edit each of the events, as seen in the screenshot to the right.
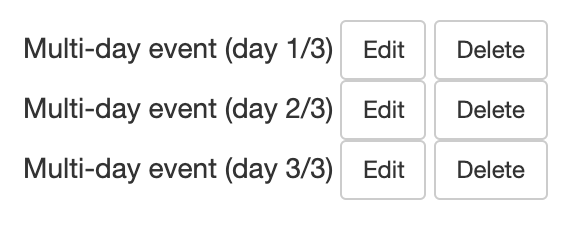 Editing multi-day events
Select the 'featured' checkbox: if you have an event widget on the homepage of your website, check this checkbox to have this event display on the homepage. Events on the homepage are listed in chronilogical order with the first upcoming event displayed on top. An example of an event widget is displayed on right.
Upload Event image: If used, this image displays on the event detail page, and it also displays on certain homepage event widgets.
Add event description: This field allows you to use all the editor tools needed to describe the event to site visitors. Text, Images, and links may be added to this field.
Add event location: Add content here for the location of the event.
Add related items: Related items in calendar events are typically displayed at the bottom of the page. This is the Clickboard functionality that will allow you to associate documents, pages, and news with an event item. Once you have added a page, document or news item to your Clickboard, you will see the name of the item in the related items section. To associate the item with the event, click the name of the item to highlight it. Once the item is highlighted, click the save button to associate it with the event.
Send updates to subscribers: Check this box if you would like to send an email update to website subscribers. If this box is checked, an email WILL BE SENT the next day at around 2am with this contents of this calendar event to website subscribers. To learn more about email subscription, please visit the email subscription webpage.
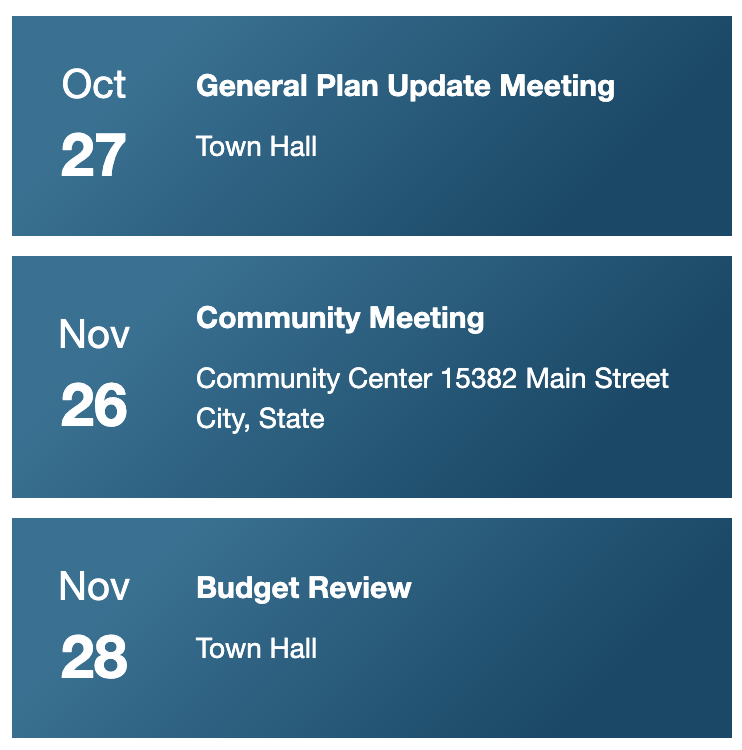
Example of homepage events widget